Dialing in your brake setup ranks as one of the top upgrades you can apply to a vehicle—be it a street car, a track toy, or a daily driver. Your foot presses the pedal. The master cylinder turns that press into fluid force. Brake lines send the fluid force to calipers. The calipers press pads onto rotors. This link of parts gives you solid stopping power, even wear on pads and rotors, and a consistent feel. A weak link among these parts makes pads wear fast, rotors heat up, and the pedal feel soft when you need strong stops.
This guide shows how brakes work, names the parts that count, and explains how to bring them together into a system you can trust.
How Brake Setup Affects Performance and Pad Life
Solid braking works through tight links between parts. A proper brake setup depends on:
- Hydraulics: master cylinder, calipers, and brake lines
- Friction parts: pads and rotors
- Cooling: air flow and heat control
- Controls: pedal feel, pressure change, and balance
When these parts join close:
- The pedal feels firm and stays the same every time
- You get shorter, repeatable stopping distances
- Pads and rotors wear evenly and last longer
- Brake fade stays low even after several hard stops
When they do not join well, you face:
- A soft, spongy pedal feel
- Pads that glaze or crumble
- Rotors that warp or crack
- Hot fluid and fading brakes
The goal is a system that works as a team, not just bigger parts.
Understanding the Basics: How Your Braking System Works
Before you change your brakes, know the chain of steps below.
- Your foot pushes the pedal.
- The master cylinder turns that push into hydraulic pressure.
- Brake lines carry that pressure to each caliper or wheel cylinder.
- Calipers press pads to rotors (or shoes to drums).
- Friction turns the car’s speed into heat, which slows the car.
Two points hold here:
• Tire grip limits how well you can stop. Even the best system stays within the grip of the tires.
• Heat must leave the system. If it stays, parts overheat and performance drops.
Building Blocks of an Effective Brake Setup
1. Check Tires and Suspension First
Your brakes depend on your tires to work well.
• Tire rubber and condition set how fast you can stop.
• Suspension balance controls how much grip each tire has when braking.
Before you spend on new calipers, be sure that:
• Tires are new enough, right for your ride, and hold air well.
• Alignment is correct and suspension parts are sound.
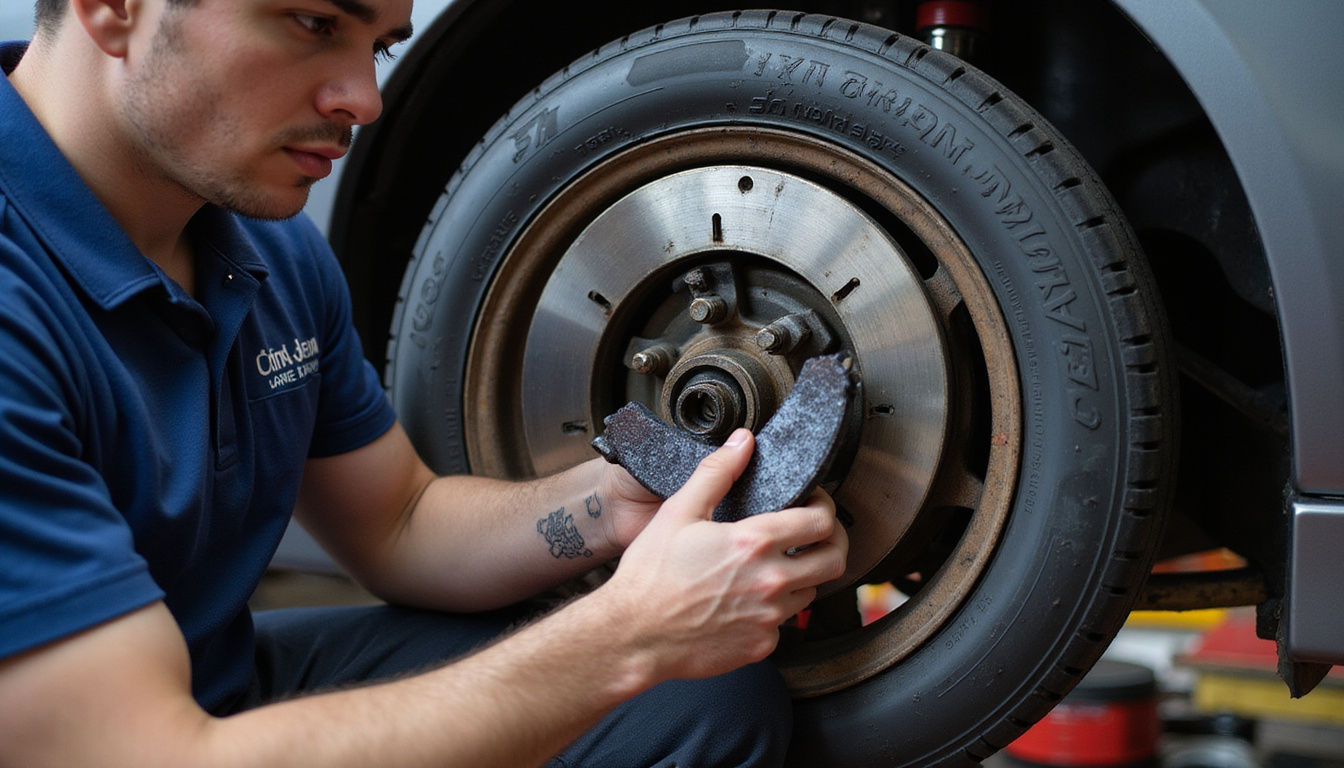
2. Choosing the Right Brake Pads
Pads are a key part of your brake setup. Different pad types change:
• Initial bite
• Pedal feel and pressure control
• The temperature range they work in
• Dust, noise, and rotor wear
Pad types include:
• OEM / comfort style
– Good on noise and dust
– Wears faster under hard stops
– Made for everyday driving
• Performance street
– Gives a stronger bite and works well at high temperatures
– May have a bit more dust and noise
– Works for lively driving and some track use
• Track / race
– Withstands very high temperatures
– Works less well when cold (takes time to warm up)
– Can wear rotors more and make more noise
For cars that see both street and track use, switching between a street pad and a track pad works best.
Tip: Choose a pad type that fits how you really drive. A pad made for soft use will wear out quickly if you hit brakes hard over and over.
Rotors: Size, Design, and Cooling
Rotor Size and Thickness
• A larger rotor gives more braking force and holds more heat.
• Thicker rotors stand heat better and keep shape longer.
But bigger parts also add extra weight and may not warm enough when needed.
Pick rotors that match your car’s weight, power, and style of driving.
Solid, Vented, Drilled, and Slotted
• Solid rotors work for lighter, rear setups.
• Vented rotors use channels inside to keep cool and are common in front.
• Drilled rotors shed gas and water but might crack with heavy use.
• Slotted rotors keep the pad surface clean and push out debris well for strong driving.
In most everyday cases, a quality vented and slotted rotor works best.
Calipers and Master Cylinder: Getting the Hydraulic Link Right
Brake Calipers
New calipers can give:
• Less flex and a firmer pedal feel
• More pad area and better heat drop
• Better piston sizes for keeping front and rear balanced
But simply swapping for a multi-piston caliper without checking piston size can throw off the feel and travel of the pedal.
Master Cylinder Sizing
The master cylinder sets two feelings:
• Pedal travel—smaller bores let you travel further, which gives more leverage
• Pedal effort—bigger bores mean less travel but more force is needed
A good match gives:
• Enough travel
• A firm, straight feel
• Smooth pressure change that is not too touchy
When you change calipers, check that the piston area from them fits with your master cylinder for the right feel.
Brake Lines and Fluid: Small Parts, Big Impact
Braided Stainless Lines
Rubber lines stretch under pressure, especially when warm. Braided stainless lines:
• Resist expansion
• Keep the pedal feel crisp
• Stay steady through repeated stops
They do not push peak force up, but they let you feel the link between parts better.
Fluid Choice and Maintenance
Brake fluid has a boiling point that falls when it soaks up water. Hot fluid leads to:
• A soft or sinking pedal
• Sudden loss of brake force
Guidelines:
• Use DOT 4 or a high-performance DOT 4 fluid for street or track work. Some DOT 5.1 types also keep heat well.
• Change old fluid at least once a year for normal use and more often if you drive hard.
Balancing Front and Rear Braking: Bias and Stability
Brake bias shows how much front and rear brakes share the work.
• A front-heavy setup makes fronts lock up fast, extends stopping distances, and wears front pads more.
• A rear-heavy setup makes the rear wheels lock too soon, can unsettle balance in corners, and may lead to spins.
Most cars come with a front-heavy bias to keep you safe. When you change calipers, pads, or rotors on one end, check:
• The link between piston areas in front and rear
• The friction levels of the pads
• The size of the rotor where its force works
For cars that push limits on the track, an adjustable valve may fine-tune rear pressure. Use it with care and with expert advice if needed.
Heat Management: The Key to Pad Life and Fade Resistance
Heat works against stopping power and pad life. Cutting heat is one of the best steps you can take with your brake system.
Ways to Keep Brakes Cool
• Ducting: Directing cool air to the rotors lowers their heat fast. Even a simple tube can help.
• Shielding: Blocking heat from nearby parts (like ball joints or shocks) guards them well.
• Pad choice: A pad made for high heat keeps grip strong even when warm and keeps pad surfaces in shape.
Signs of a heat problem:
• Rotors take on a blue or purple hue
• Pads crack or lose pieces
• A strong, hot smell arises after a few hard stops
• Stopping distances grow longer with each stop
Fix the cooling or choose a better pad compound before you think about a larger brake kit.
Driving Technique: Free Stopping Power and Pad Life
No matter how tight your parts link in your setup, driving style matters. How you press and ease the brake makes a big change in feel and wear.
Better Brake Habits
• Brake hard, then let off.
– A smooth but strong push builds pressure fast.
– Do not drag the brakes lightly for too long, as this heats the pads.
• Plan your stops.
– Look ahead and give your car time to slow.
– Use some engine slowing power but do not count on it alone.
• Allow brake cooling.
– After strong stops, drive slow for a while so brakes recover.
– Avoid stopping with hot brakes and a hard-pressed pedal; this can leave marks on rotors.
On the track:
• Use brief, strong stops instead of long, medium stops.
• Take a gentle lap to let the brakes cool before parking.
Step-by-Step: Optimizing Your Brake Setup
Here is one way to boost stopping power and pad life without wasting money:
-
Baseline check
– Look at pad thickness, rotor shape, line strength, and how old the fluid is. -
Upgrade pads for how you drive
– Pick a pad that fits nearly every part of your driving style. -
Change and upgrade fluid
– New, high-quality DOT 4 fluid can make older setups feel much better. -
Add braided lines if you can
– This change makes the pedal feel tighter and more consistent. -
Look at your rotors
– Swap worn-out or cracked rotors for quality vented ones; add slots if you drive hard. -
Check bias and pedal feel
– If the car feels heavy in the front or set more for track use, consider bias adjustments or new calipers with the right piston size. -
Boost cooling
– Add ducts or improve air flow if you see signs of heat buildup. -
Improve your technique
– Work on how you brake, your pressure control, and giving the brakes time to cool.
Each step builds on the one before, making sure that every change works with the next.
FAQ: Common Questions About Brake Setup
Q1: How can I tell if my brake setup suits track days?
If you feel the pedal fade, see smoky pads, or watch rotors turn blue after many laps, the system needs work. In that case, pick pads for hot use, use high-temp fluid, and check that cooling is enough. If the issues persist, consider larger rotors or a kit suited for heavy use.
Q2: What setup fits daily driving and a bit of sport?
A well-tuned street setup often has: quality performance pads made for the street, fresh DOT 4 fluid, solid rotors, and perhaps braided lines. This mix gives a firm feel and steady stops without the downsides of race parts or too-big hardware.
Q3: Do I have to get a big brake kit to up my setup?
Not always. Many drivers gain a lot by tuning pads, fluid, lines, and cooling on their standard calipers and rotors. A big kit suits those who often push the stock system to its limits (for example, heavy cars on low grip surfaces or frequent track use).
Turn Your Brake Setup into a Real Performance Advantage
A well-linked brake system stops your car in a smart way. When pads, rotors, hydraulics, and cooling join well, you get shorter, steady stops and longer-lasting parts. Whether you take winding roads, drive in busy traffic, or look for fast lap times, setting up your brakes smartly pays off every time you press the pedal.
Review your parts, pick pads and fluid that match your drive, and plan your upgrades step by step. Fix your most important safety system with care and turn your brakes into a strong, repeatable, and lasting performance edge.
