Spare Engine Swap Secrets Every DIY Mechanic Needs to Know
Swapping a spare engine is one of the best jobs a DIY mechanic can try. It saves cash on labor, gives an old car new life, or can turn a plain car into a sleeper. Small mistakes, like wrong parts or messy wiring, can lead to big problems. This guide shows you the key secrets to know before you start with your engine swap.
1. Start with the Right Spare Engine, Not Just the Cheapest
The first choice is which spare engine to get. A low-priced engine may seem smart, but its fit and condition count more than low mileage alone.
Match the Engine to Your Goals
Before you buy, ask yourself what you want:
• Fix a daily driver to work like new
• Get a mild boost with the same engine type
• Go for a full performance build or change the engine type completely
Your goal will guide you to pick:
• A direct replacement (same code and generation)
• A bolt-in upgrade (same mounts and similar parts)
• A custom swap (needs extra work like new wiring and a different computer)
Check the Details That Make It Fit
To make the swap smooth, look at more than the year, make, and model. Check these items:
• Engine code (for example, 2JZ-GE vs 2JZ-GTE, LS1 vs LM7)
• Year range (since mid-generation parts can change)
• Transmission type (auto or manual gives different needs for parts)
• Emissions parts (look at the EGR, air systems, and EVAP differences)
• Sensor types (cable throttle vs drive-by-wire, MAF vs speed-density)
Make sure part numbers for the engine computer, sensor parts, and fuel parts match so your engine can work with your car.
2. Look Over Your Spare Engine Before You Commit
Even a spare engine from a trusted seller needs a careful check. A few hours now can save you days of rework later.
Quick External Checks
• Look for cracks or damage in the block, head, or oil pan.
• Check that all wiring connectors and sensors are intact.
• See any rust in coolant paths (remove a hose or thermostat cover).
• Look for oil leaks at seals or gaskets.
Simple Internal Health Tests
If you can, set the engine on a stand and do these tests:
• Run a compression test or leak-down test.
• Remove the spark plugs and check them for oil or strange deposits.
• Look at the oil for metal bits or a milky look.
• Check timing parts to see if belts or chains are worn.
For a used engine with an unknown past, plan to replace parts that wear even if the engine runs.
3. Refresh the Spare Engine While It’s Out of the Car
A secret known to skilled swappers is to fix small parts on the engine when it is off the car. With the engine on a stand, parts are easy to reach and work is cheaper than in the car.
Priority Parts to Replace While You Work
At the very least, think about replacing these parts:
• Timing belt or chain, tensioners, and guides
• Main seals at the front and back
• Valve cover gaskets and spark plug tube seals
• Gaskets for intake and exhaust manifolds
• Water pump and thermostat
• All coolant and heater hoses
• The PCV valve and its hoses
• Spark plugs and wires or coils as needed
• Accessory belts and idler pulleys
If the engine has over ~100k miles or its past is unknown, also check:
• The oil pump (or check its clearances)
• The oil pan gasket and pickup screen
• Motor mounts, and replace them if they seem weak or cracked
A weekend spent on your engine now can mean years of smooth, leak-free service.
4. Plan the Swap Like a Project, Not a Weekend Guess
Videos may show an engine swap done in a weekend, but they skip the work of planning and preparing parts. Make a real plan before you start.
Make a Detailed Checklist
Write down or use a digital list for:
- Tools you need
- Fluids, rags, cleaner, and small items like zip ties
- New parts, such as gaskets, mounts, and sensors
- Any tasks at a machine shop
- The order and torque for bolts
Keep a service manual close by for:
• Torque numbers for bolts
• Steps to remove and install the engine
• Wiring and hose diagrams
Pre-Fit and Label Everything
• Check that parts like the alternator, power steering pump, and A/C work on the spare engine
• Make sure the brackets and mounts work with your car
• Label every hose and connector on your old engine before you remove it
• Snap plenty of photos from different angles
These steps help when you work in a tight engine bay later on.
5. The Wiring Harness: A Key to a Good Swap
Wiring can be tougher than mechanical work. A neat and matching harness is the backbone of a swap that works well.
Keep Your Original Harness When You Can
If the spare engine is the same type and code:
• Use your car’s harness and computer if possible.
• Swap sensors or brackets as needed so they match.
• Use parts from the donor engine only if they match or are known to be compatible.
This helps you avoid problems with engine codes or random errors.
For More Complex Swaps
If your spare engine does not match perfectly:
• Study the wiring charts for both engines.
• Make a list that lines up each signal from the engine computer to its sensor, injector, or coil.
• Choose to either modify your old harness or create an adapter harness, or even use a separate engine computer and custom wiring.
For some common swaps, adapter harnesses available in the market can save time.
6. Cooling, Fuel, and Exhaust: Check the Extra Parts
A strong spare engine can fail if the extra parts do not work well. Always check that your car’s systems can handle the new engine.
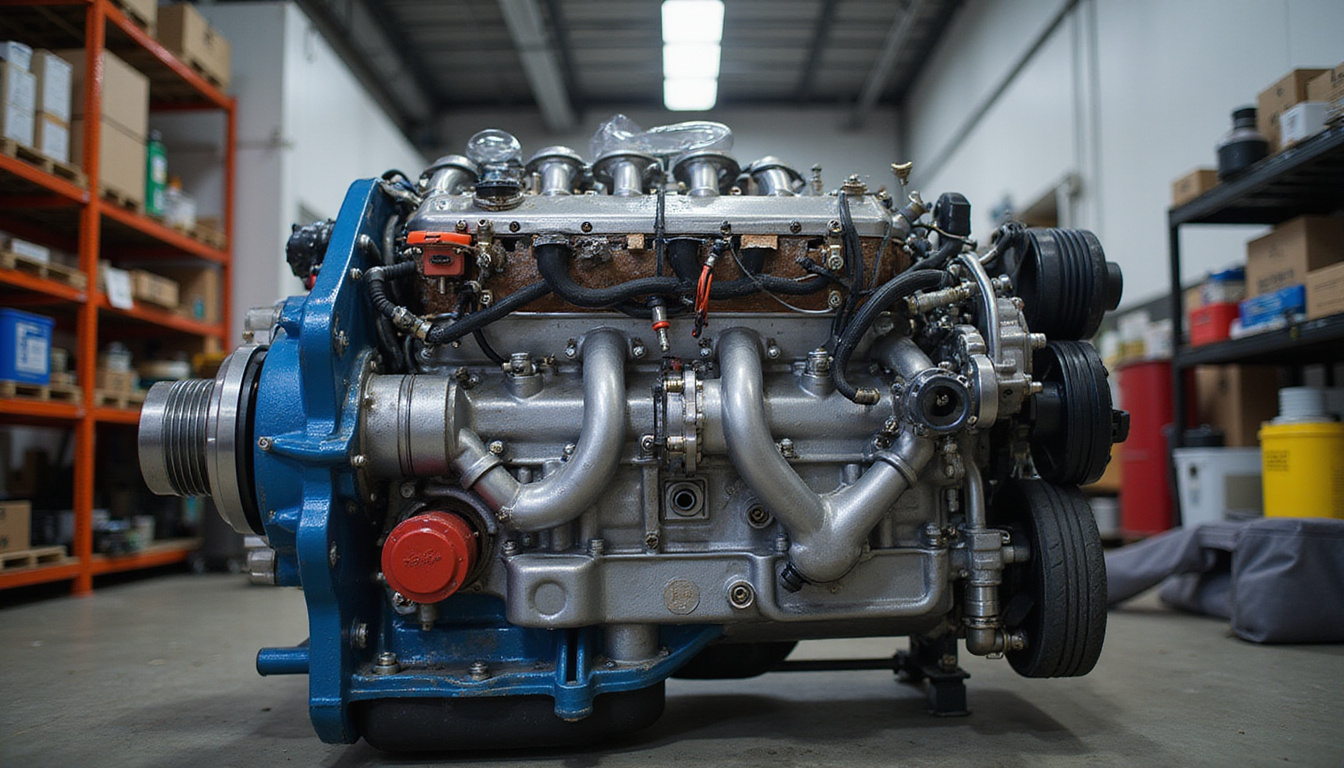
Important Cooling System Parts
• A radiator in good shape (you may choose a better one for more powerful engines)
• The correct thermostat setting
• A working fan system (whether it is a mechanical clutch or an electric fan with proper wiring and relays)
• A good method to remove air from the system
Heat will spoil all your work if the cooling system fails.
Fuel System Checks
Match the new engine’s fuel needs to your car:
• Check that the fuel pump flow is correct.
• Confirm the injector sizes match.
• See that the fuel pressure regulator is a good fit.
• Make sure the fuel filter and lines are clean.
For big engine builds, check that the pump and injectors can supply the needed fuel.
Exhaust and O2 Sensor Fixes
• Ensure exhaust manifolds or headers do not block other parts.
• Position O2 sensors at the proper distance from the exhaust pipes.
• Count and match the sensors as needed by your car’s system.
• Fix any exhaust leaks that come before the sensors so they work correctly.
7. Top Mistakes DIY Mechanics Make with Spare Engine Swaps
Many troubles come from small slips. A careful, step-by-step method can help you avoid common mistakes.
Common Mistakes and How to Dodge Them
• Mixing up bolts and brackets
– Use small bags or boxes to hold parts from each area (for example, bolts from the intake).
• Forgetting to fill the oil system
– Fill the oil filter first and crank the engine with the fuel and spark off until you see oil pressure.
• Over-tightening or mis-threading bolts
– Use a torque tool for important bolts and clean the threads when needed.
• Skipping ground connections
– Check that all engine and car ground wires are tight and clean.
• Not checking moving parts for contact
– Rotate the engine by hand several turns before the first start to ensure nothing touches that should not.
8. The First Start and Break-In of Your Spare Engine
Starting your engine for the first time can make your heart race. A clear plan helps lower the risk of damage.
Pre-Start Checklist
• Fill all fluids: engine oil, coolant, power steering, and transmission fluid if needed.
• Look for any leaks in fuel, oil, or coolant.
• Check that the battery is charged and grounds are good.
• Make sure all sensors (crank, cam, MAF/MAP, coolant temp) are hooked up.
• Set base timing as shown in the manual.
Turn the engine by hand without fuel or spark first:
• Watch for oil pressure to build.
• Listen for strange sounds.
Then allow fuel and spark and try to start.
Basic Break-In Steps
For a used spare that is not newly built, regular driving is usually fine after you check for leaks or odd sounds. For a brand new or rebuilt engine:
• Use the right break-in oil if the maker says so.
• Change speed and load often. Avoid long idle times or long highway runs at one speed.
• Change the oil and filter early—say at 500 to 1,000 miles.
• Watch the coolant, oil pressure, and any odd smells or sounds.
Follow the maker’s guidance if you have it.
9. Tools and Equipment That Make Swaps Safer and Faster
Basic tools can do the job, but certain gear makes the work simpler and safer.
Core Equipment to Have
• Engine hoist and level bar
• A strong engine stand
• A good torque wrench (in two sizes: 3/8" and 1/2")
• Floor jack and strong jack stands
• A label maker or painter’s tape with markers
• Good shop light or headlamp
• A digital multimeter for checking wiring
Optional but very handy:
• An impact gun (corded or cordless)
• A pump for fluids
• Tools for compression and leak-down tests
• An OBD-II scanner that shows live data
Good tools let you work more safely and fix problems faster.
FAQ: Spare Engine Swaps and Common Questions
1. Is a spare engine swap better than a rebuild?
Switching to a spare engine often costs less and takes less time than rebuilding an engine. A rebuild gives you known parts and clear tolerances but needs machine work and special tools. For a daily driver, a well-refreshed used engine usually wins in value. For a performance build, a rebuilt or crate engine might work best.
2. Can I use a different spare engine than the one my car came with?
Yes, but the work gets harder. Using a spare engine from the same family (for example, one with more power) is simple if the mounts and wiring match. A swap with a different engine family needs custom mounts, rewired connections, computer tweaks, and changes to fuel and cooling systems. Study the specific combo before starting.
3. How long does a DIY spare engine swap take?
For a common engine replacement, a well-prepared mechanic in a home garage may finish in a long weekend (2–3 days). Cleaning, part refreshment, or solving surprises may add to the time. More complex swaps with different engine types might stretch into weeks or months. A strict plan, ready parts, and an organized workspace save time.
Ready to Tackle Your Spare Engine Swap?
A good spare engine swap comes from careful planning, a solid check of parts, and a steady step-by-step process. Pick the right engine, work on it while it is off the car, get the wiring and extra parts in order, and start with a clear pre-start list. If you are ready to give your project car a new heart, start by checking engine fits, writing your parts list, and setting up a clear space to work. With care and order, your spare engine swap can bring a tired car back to life or boost its performance—and it builds your skills for even bigger projects.
