Railway track life rests on one key point: ballast placement. You may have strong rail, proper sleepers, and firm bed soil. But if ballast lies in the wrong spot, at the wrong depth, or in poor shape, the track suffers. Bad ballast placement leads to misaligned rails, trapped mud, fast decay, and non‐stop repair work.
This guide shows common ballast placement errors, how they hurt the track, and clear ways to mend and stop them.
Why ballast placement matters so much
Ballast does more than hold sleepers. It spreads wheel loads from sleepers to the bed, keeps the track from shifting side to side or lengthwise, makes water drain away, helps tamp the track and fix its shape, and stops weeds and moving dirt.
When ballast sits wrong, these tasks fail. The track sinks, shifts, fouls, and may force trains to slow or risk derailment. Railway guides tell us that ballast shape and state lead many track faults and extra repair bills (source: UIC Railway Technical Publications).
Mistake #1: Insufficient ballast depth under sleepers
Why it ruins stability
A common error is too little ballast beneath sleepers. Thin ballast causes loads to hit small spots, making the bed deform. Sleepers settle unevenly, tamping does not pack the ballast well, and track stiffness is uneven.
Thin ballast is a big problem on heavy freight tracks and high-speed lines where forces are strong.
How to fix it
-
Survey and measure
• Use track cars, ground-penetrating radar, or test pits to check ballast depth.
• Compare measurements with design standards (often 250–350 mm under sleeper bottoms). -
Renew ballast, not just add on top
• If depth falls short, topping off will not fix it.
• Plan a renewal to restore full design depth. -
Upgrade key spots
• Bridges, transitions, and turnouts may need extra ballast depth.
• Add more depth at these spots and check track shape afterwards.
Mistake #2: Poor shoulder ballast placement and width
Why shoulders matter
Shoulder ballast, the material beside sleepers, stops the track from moving sideways. When shoulder width, height, or compaction is low, the track can shift under heavy loads, heat, or brakes. On curves, weak shoulders make rails shift and wear faster.
Common shoulder errors
• Shoulders that do not extend far enough (usually less than 300–500 mm beyond sleepers)
• Shoulder height that is lower than the sleeper top
• Uneven shoulder shapes from poor spread or lost ballast
• Sleeper ends that lack support at transitions or turnouts
How to correct shoulder placement
• Rebuild the shoulder shape
– Use regulators to set even shoulder width and height.
– Aim for your standard (for example, 500 mm width and near-sleeper-top height on mainlines).
• Compact and stabilize
– After tamping, run stabilizing passes to pack the shoulders.
– Watch for ballast loss after heavy rains or temperature swings.
• Pay attention to curves and heavy load spots
– Check tight curves, turnouts, and station areas closely.
– Verify shoulder shape after each major repair cycle.
Mistake #3: Ignoring drainage in ballast placement
The hidden foe: water
Even with the right shape, if the ballast ignores drainage, the track fails. Trapped water cuts the strength of ballast and bed soil. It pumps fine material, creates mud patches, and leads to fast settlement. In cold weather, water freezes, thaws, and shifts the track.
Typical drainage errors
• Ballast piled too high can block paths or side ditches
• Lack of a gentle slope from track center to shoulders, so water pools
• Placing clean ballast on top of fouled ballast without removing the old layer
• Failing to restore the slope after tamping and surfacing
How to restore proper drainage
• Build a crossfall
– Shape the ballast so water runs from the center to the sides.
– Use regulators to hold the slope after work.
• Remove and replace fouled ballast
– In dirty areas, remove the compacted, worn ballast.
– Add clean ballast and, where needed, a sub-ballast or geotextile.
• Coordinate with ditch and culvert work
– Ensure the ballast does not cover drainage structures.
– Clean ditches and check culverts along with track surfacing.
Mistake #4: Overfilling ballast between sleepers and at rail seats
When extra ballast harms
It may seem that more ballast is better. But too much ballast between sleepers or pushed up to rail seats can reduce sleeper movement, hold water in place, hide fasteners, and stop rails from expanding or contracting. At turnouts and crossings, extra ballast can block moving parts and harm equipment.
How to fix overfilled ballast
• Adjust the ballast profile
– Use a regulator or manual tools to remove extra material from rail webs and fasteners.
– Leave space near rail seats and moving parts.
• Keep inspection zones clear
– Ensure fasteners, clips, and sleeper surfaces are visible after shaping.
– Do not bury timber sleepers to avoid fast decay.
• Standardize the profiles
– Follow standard cross-sections at turnouts, crossings, and joints.
– Train crews to avoid building up excess ballast against the rail.
Mistake #5: Using the wrong ballast in the right place
Not all ballast is equal
Even with a perfect shape, poor ballast material ruins the whole track. Common material issues are soft rock that breaks down, mixes of clean and clay-rich ballast, uneven grain sizes that cut strength or drainage, and reusing heavily fouled ballast in busy areas.
These faults lower ballast life and raise tamping needs.
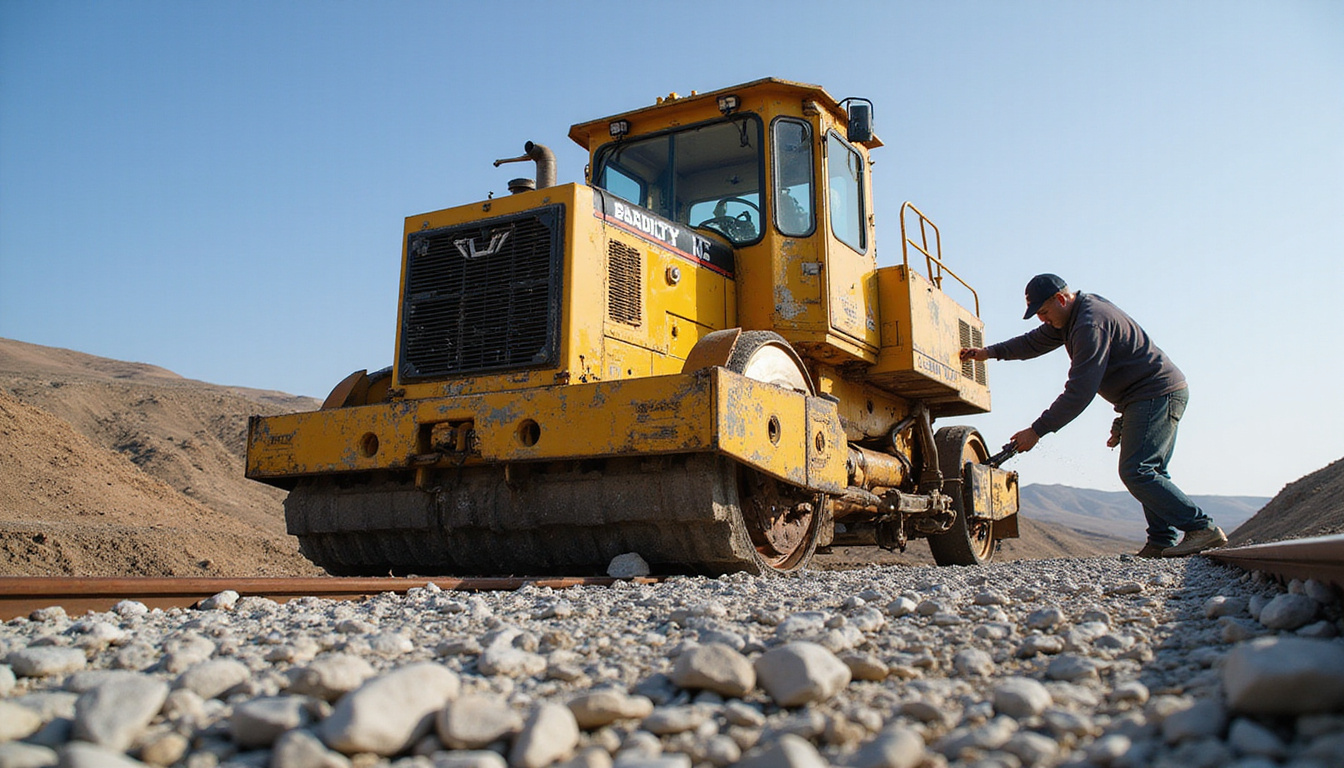
Fixing material quality issues
• Test and choose good sources
– Run tests such as abrasion and grading checks to find strong ballast.
– Do not use material that fails these tests.
• Manage reused ballast
– Limit recycled ballast to low-speed or secondary tracks where possible.
– Do not use reclaimed material in heavy load or high-speed corridors.
• Keep grading even
– Work with suppliers to keep quality consistent.
– Watch for early signs like extra dust or rapid fouling.
Mistake #6: Neglecting transitions and special trackwork
Why transitions need care
At places with sudden changes in track stiffness—like bridges, crossings, tunnel entrances, slab track zones, and turnouts—the load shifts. Poor ballast placement here makes dips, repeated shape faults, fastener damage, and cracked sleepers. Local speed drops may follow.
Common transition errors
• Not enough ballast depth at bridge approaches
• Uneven shapes at road crossings or slab transitions
• Too much or too little ballast in turnouts, affecting shape and drainage
• Inconsistent shoulder width on curves near special work
How to stabilize transitions
• Build a gradual change in stiffness
– Use layered ballast, under-sleeper pads, or sub-ballast to avoid sudden jumps.
– Follow your standard designs for transition zones.
• Watch the shape closely
– Use extra monitoring with geometry cars or sensors where needed.
– Plan more repair windows for high-risk sections.
• For turnouts, follow special diagrams
– Use turnout-specific ballast diagrams instead of plain track profiles.
– Ensure drainage stays open below the turnout area.
Mistake #7: Inconsistent maintenance and re-profiling
When good placement loses its form
Even the best ballast placement can lose its form if maintenance is not steady. Common mistakes are tamping without shaping afterward, skipping proper waiting time for consolidation, adding ballast on top of fouled layers, or letting shoulders wear off.
A better maintenance strategy
• Follow a clear sequence
– Clean or remove old ballast, add new ballast, tamp, then shape the track.
– Do not add fresh ballast on layers that are already fouled.
• Base work on condition, not on time
– Use measurements of track shape, fouling, and loads to plan repairs.
– Focus on spots where ballast errors show up repeatedly.
• Train and standardize
– Use clear visual guidelines and diagrams for the ballast shape.
– Ensure all crews follow the same simple steps.
Checklist: Best practices for reliable ballast placement
Use this quick list to check your track or plan new work:
-
Depth
• Confirm ballast depth under each sleeper meets the design.
• Increase depth in heavy-use areas and transitions. -
Shoulders
• Ensure shoulder width goes well beyond the sleeper ends.
• Make shoulder height nearly equal to the top of the sleeper. -
Profile and drainage
• Shape a crown or slope that drives water away.
• Keep ballast clear of ditches, culverts, or drains. -
Rail and sleeper clearance
• Do not let ballast cover rail seats or fastener zones.
• Keep inspection paths free and clear. -
Material quality
• Check the ballast with standard tests for strength and grading.
• Remove or separate fouled ballast. -
Transitions and special trackwork
• Create smooth changes with proper ballast layers.
• Use special diagrams for turnouts and junctions. -
Maintenance and monitoring
• Check track shape and condition regularly.
• Re-profile and rebuild shoulders after tamping.
FAQ on ballast placement and track stability
Q1: What is the best profile for mainline track?
A good profile gives enough ballast depth under sleepers (usually 250–350 mm) and shoulders that reach at least 300–500 mm from sleeper ends. The ballast supports the sleeper along its whole length and keeps fasteners free while letting water run off.
Q2: How does wrong ballast placement lead to fouling?
Bad placement traps water and fines. When ballast is too packed or blocks water flow, water sits in place. The water helps fine material move in and mix with the ballast, which makes the layer heavier and less able to drain.
Q3: What signs show that ballast placement needs work?
Watch for repeated shape faults at the same place, low shoulder levels, water pooling in the ballast, ballast pushed against the rail or covering fasteners, mud marks, and quick sinking after tamping. These signs mean that ballast placement and drainage are not working well.
Take control of ballast placement before it controls your costs
Small errors in ballast placement grow into big faults. Left unchecked, these errors bring higher repair costs, forced speed limits, and safety risks. By keeping ballast depth, shoulder shape, drainage, material quality, and transition areas in check, you can help your track last longer and run safely.
Check your track sections. Use a consistent ballast shape, fix weak spots, and plan maintenance with these steps in mind. The sooner you correct these issues, the sooner you will see a cost drop in repairs and smoother, safer track operations.
